How to Make Sauerkraut
This homemade sauerkraut has become a staple within our home. It is a great way to preserve our homegrown cabbages, so we can enjoy them year round. It also is so delicious that everyone in the house, even the one year old, loves this as a side dish or quick snack. But what I consider most important are the health benefits that come along with this fermented food. Follow along as I explain the reasons you should be keeping it in your home, too, and show you just how easy it is to make it.
Lacto-Fermented Cabbage
During fermentation, microorganisms digest the natural sugars in the cabbage, which produces carbon dioxide and organic acids. This is where that delicious tangy flavor comes from. So these various enzymes are breaking down the nutrients into smaller, more digestible molecules. Because of this, your gut is able to better absorb the vitamins and minerals in the cabbage that it would not have been able to before fermenting.
Gut Healing Probiotics
Sauerkraut is full of probiotics, which are crucial for keeping you healthy and your digestive system working properly. Consuming an abundance of probiotics will help to balance the bacteria in your gut. This is important because if your gut is full of bacteria, you can experience all sorts of symptoms. Some examples include diarrhea, constipation, discomfort, sensitivity to certain foods, gas, and lack of appetite. In some cases, you can even experience autoimmune symptoms like thyroid issues, rheumatoid arthritis and type I diabetes. Sometimes all it takes is some extra probiotics to get your digestive system feeling at ease. And once your gut is in good health, your overall health will improve as well.
Vitamin Rich Sauerkraut
Because of the fermentation process, Sauerkraut is full of vitamins and minerals that your gut can easily absorb. That is why it is considered a superfood. These vitamins and minerals have so many benefits for your health, and incorporating sauerkraut into your diet can help you overcome certain deficiencies as well . To list a few:
- Sodium
- Vitamin C
- Vitamin K1
- Vitamin K2
- Vitamin B6
- Iron
- Manganese
- Folate
- Copper
- Potassium
Improving Health with Sauerkraut
All the healthy bacteria, or probiotics, in the sauerkraut, help your body defend itself against bad bacteria and toxins. This is how it gets its immunity building properties, because it helps boost your body’s production of natural antibodies. This actually reduces your risk of infections like colds or urinary tract infections. It will also help you recover from any virus or infection much more quickly. By making it a part of your diet, it can actually reduce your cholesterol levels. It can even reduce your risk of cancer.
Fermented Sauerkraut Recipe
All fermented foods have wonderful gut healing properties, but not all are this easy to make. That’s what makes this one such a favorite of mine. Also because of the fact that I love cabbage, but there are very few ways to effectively preserve it. We really enjoy recipes with sauerkraut in them as well, but I do not enjoy the preservatives and added sugars that come with store bought sauerkraut. And the pasteurization process that store bought sauerkraut goes through kills off all the wonderful probiotics that make this superfood so valuable to our family. Follow this simple recipe:
Prepping the Ingredients for Sauerkraut
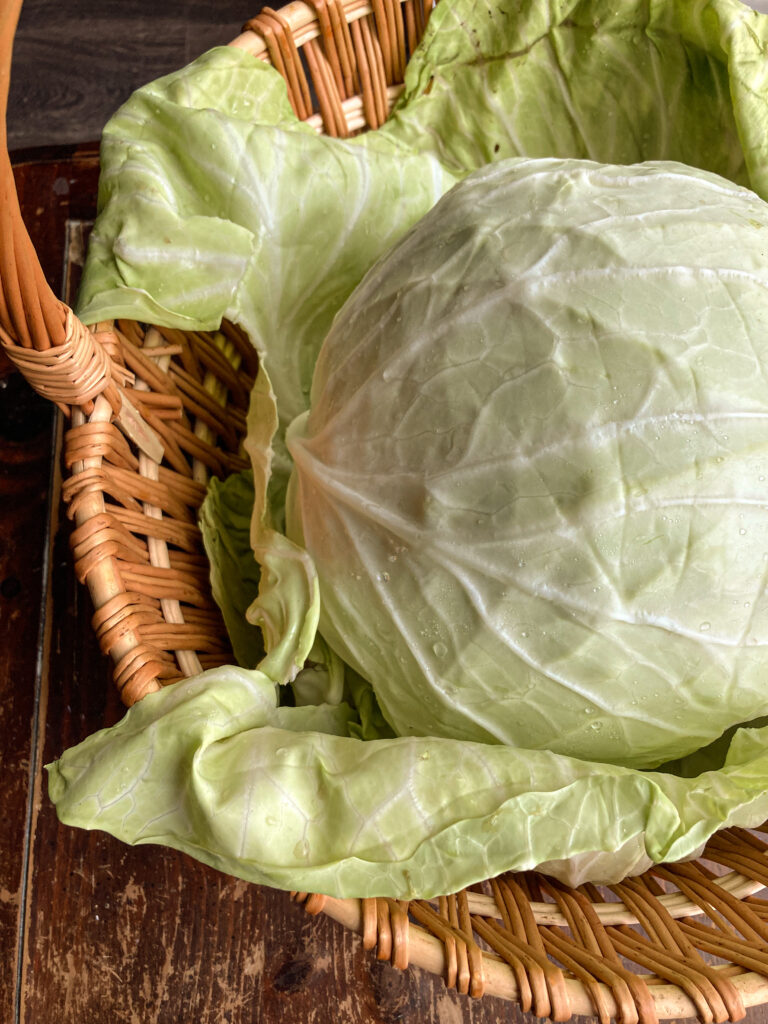
- Cabbage
- Salt
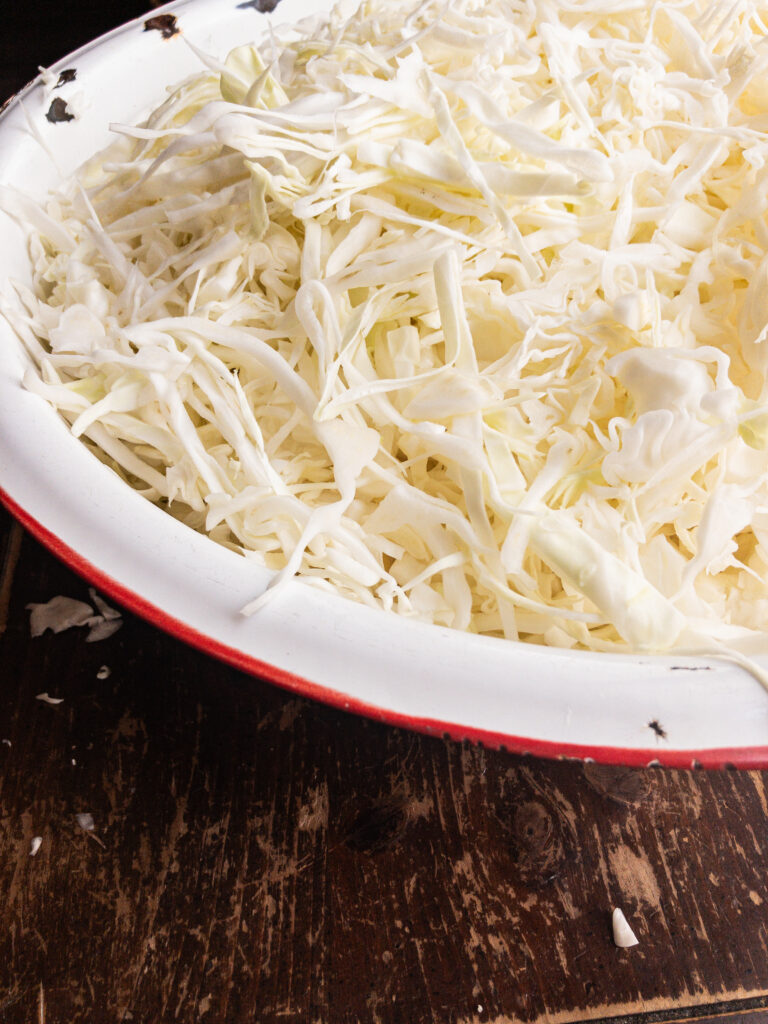
- To start, remove the core and outer leaves. Keep these leaves for later in the recipe. Finely chop the cabbage with a knife or a grater. We prefer ours to be cut with a knife into thicker strips for a crisper texture after it has fermented, but this will be based on your own preference.
2. Use a kitchen scale to weigh the shredded cabbage. The amount of salt being added is based on the weight of your cabbage.
3. For every 5 lbs. of cabbage, you will add 3 tbls of salt. You want this to be a quality salt like sea salt or himalayan salt, not an iodized salt.
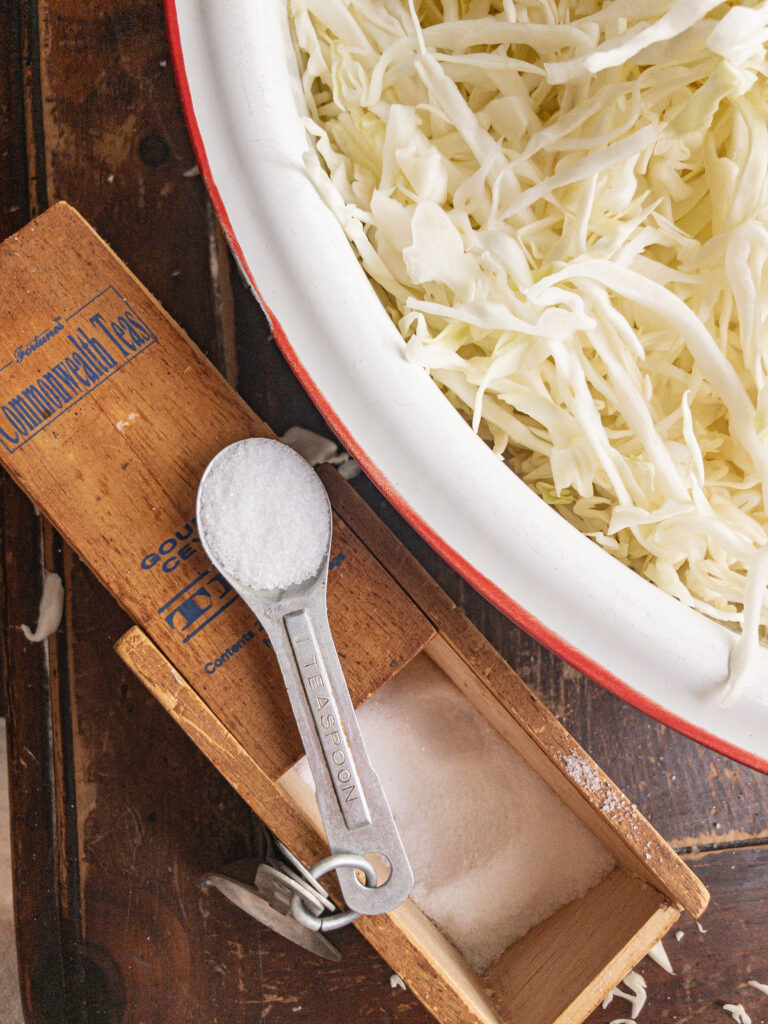
4. Once you have added your salt, mix it into the cabbage real well. I use my clean hands to incorporate the salt, and you don’t want to be gentle about this You can give the cabbage a good squeeze to help salt start extracting the juices from the cabbage.
5. You’re going to let this sit so the salt has some time to break down the cabbage and release the liquids, or brine. Let it sit for about an hour or more. I have even let mine sit overnight, about 8 hours, covered with a towel.
Jarring Your Sauerkraut
6. Once you you can see a good amount of brine extracted from the cabbage, you can start packing it into a clean glass jar. This is another step you don’t want to be gentle about. I use my clean hands to stuff a handful of cabbage into the jar, packing it down to the bottom of the jar as tightly as I can. This can also be done with a wooden spoon or tamper. Your goal is to get as much air out as possible.
7. Keep packing the cabbage in the jar until it is filled at least a couple inches from the rim. This space is going to be crucial for a fermenting weight, which helps keep the cabbage below the brine. This is how you avoid spoiling.
8. For a weight, you can use actual fermenting weights or you can use folded up cabbage leaves. You can see in the photo below, I used a fermenting weight. Your going to want to place the weight in your jar and apply pressure until the cabbage is completely submerged in brine.
Storing Your Sauerkraut
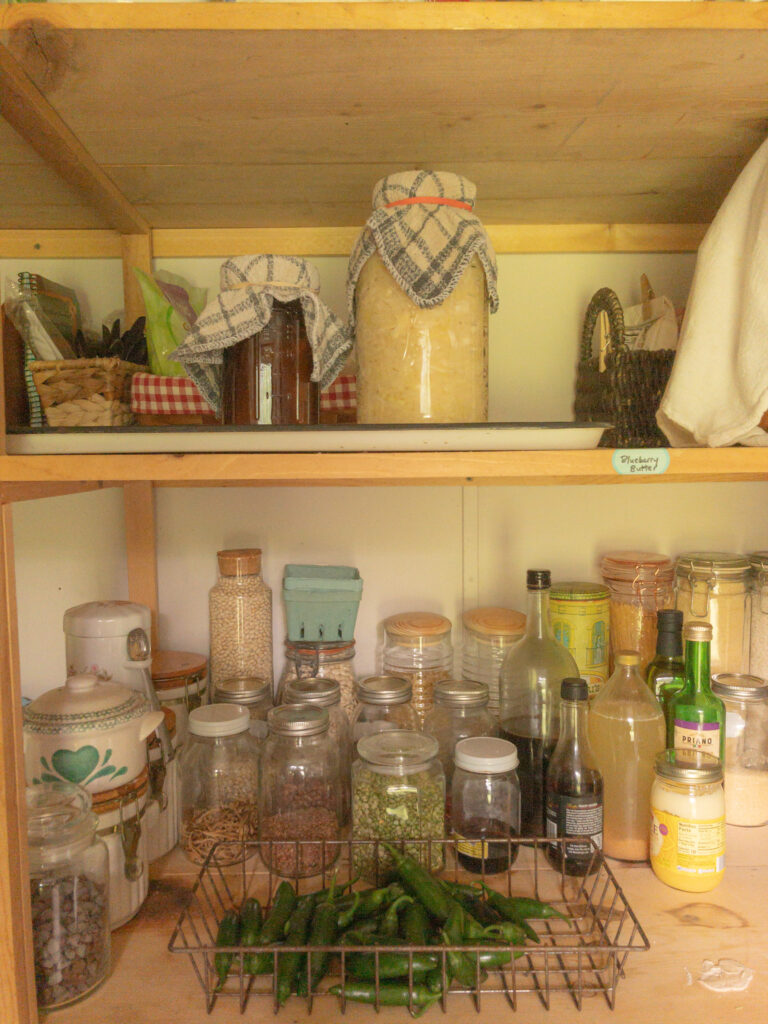
9. For storage, I use a rag and rubber band as a lid. You want your sauerkraut to be able to breath throughout fermentation but you also want to keep out any bugs. You will see that flies and gnats love this stuff, so be sure there is no way for them to get in. It is crucial to keep it in a dark space as well, specifically away from sunlight. And you also want to keep a pretty consistent temperature, so I store it in my pantry.
10. As the sauerkraut sits, it will produce more brine. You should have some kind of dish or pan underneath your jars to catch the overflow so you can add it back into your jars. Of course, if your it looks like it has been contaminated by bugs or something, do not add it back into your jars. And when the brine has flown over, I will usually change out my rags. You can also avoid any overflow by filling you jar only half full rather than to the top.
11. You should keep a close eye on your sauerkraut over the next few weeks. Make sure the brine does not get below the cabbage or it will start to spoil. Anytime you see brine that has overflowed out of your jar, you should add it back in or discard it to keep it from creating bacteria in your fermenting area. You will notice lots of bubbles forming throughout the jar which is exactly what you want.
A Fermented Sauerkraut
12. After about 2 to 3 weeks, depending on the temperature of your home, your sauerkraut will be ready to taste. Remove your weight and give it a try. If you would like for it to be more sour or a softer texture, cover it back up and check it every week afterward. I have never fermented mine more than 3 weeks, so my experience does not go beyond that.
13. If you notice any mold at all throughout the process, discard the sauerkraut. This is typically caused by exposure to some kind of bacteria either on the cabbage before hand, on a dish that was used, or on your hands. This recipe is fool proof, but it is crucial to be in a clean environment and using clean equipment.
14. Once your sauerkraut is ready, it should be stored in the fridge. The fermentation process will be slowed way down at such a low temperature. Of course, if you notice any kind of mold forming, throw the sauerkraut out.